Have a box of VHS tapes but no way to watch them? Those home movies, wedding videos, and cherished vacations deserve to be preserved, not forgotten. Converting VHS to digital is the easiest way to protect these memories for future generations while making them easy to access and share. This guide will show you two simple methods to digitize your VHS tapes, keeping your memories alive forever!
Why You Should Digitize Your VHS Tapes

It’s important to understand why digitizing your VHS tapes should be a priority. Here's why it’s a smart move:
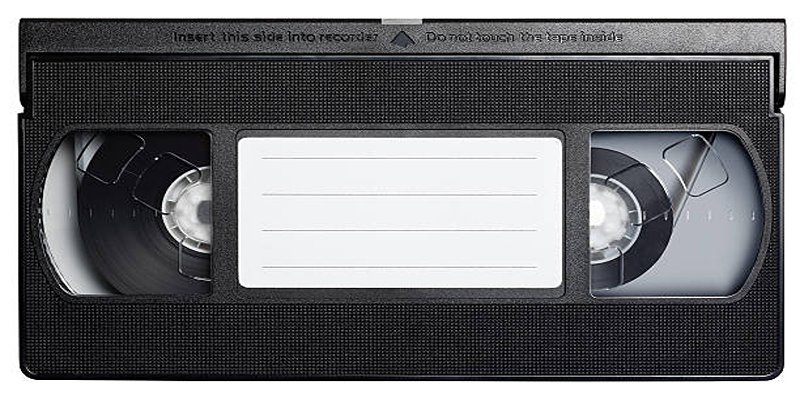
- VHS tapes degrade over time: Magnetic tape used in VHS recordings begins to deteriorate after 10 to 25 years, causing a loss of image and sound quality.
- VCRs are obsolete: Finding functioning VCRs today is difficult and expensive since the technology is no longer manufactured.
- Ease of access: Digital formats allow you to store your recordings in the cloud, on hard drives, or USB drives, making them accessible almost anywhere.
- Shareable memories: Digital files make it simple to share those special moments with friends and family via email, social media, or video platforms.
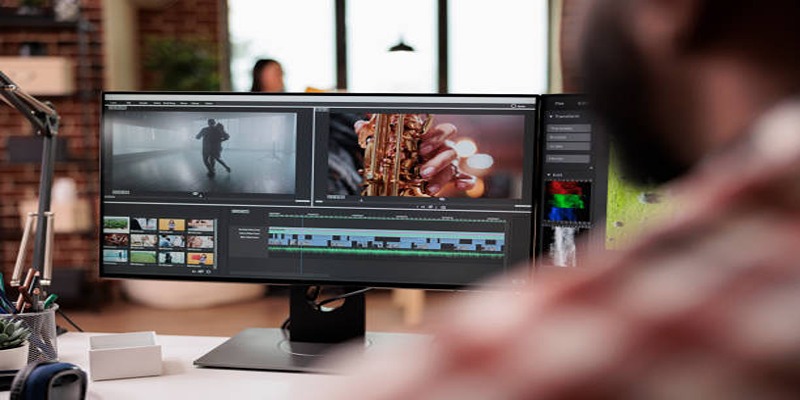
Method 1: Use a VHS to Digital Converter at Home
If you’re a DIY enthusiast or want to save money, you can digitize your VHS tapes at home by using a VHS-to-digital converter device. Here’s how to get started:
What You’ll Need
To convert VHS to digital at home, gather the following tools:
- A working VCR (with functioning playback)
- A VHS-to-digital converter (e.g., Elgato Video Capture, Roxio Easy VHS to DVD, or similar devices)
- A computer with USB ports and sufficient storage space
- The VHS tapes you want to convert
Step-by-Step Process
- Set Up Your Equipment
- Connect your VCR to the VHS-to-digital converter using RCA cables (the familiar red, white, and yellow plugs).
- Plug the digital converter into your computer using the USB cable provided.
- Install the Software
- Most VHS-to-digital converters come with software for your computer. Install and launch the software to get started. Follow any on-screen instructions to ensure your setup is recognized.
- Play and Record
- Insert your VHS tape into the VCR and press play. Simultaneously, launch the converter software and look for a “Record” button. Your computer will now record the video output from your VCR, a process that happens in real-time.
- If your VHS tape is 2 hours, the recording will take 2 hours as well.
- Save the File
- Once the recording is complete, save your video file in a format like MP4 or MOV for easy playback and sharing. Store the file on your computer or an external drive.
Pros and Cons of This Method
Pros:
- Cost-effective if you already own a VCR and are willing to purchase a converter (~$50-$100).
- You maintain full control over the process.
- Ideal for those with multiple tapes to digitize.
Cons:
- Time-intensive, as you need to record in real-time.
- Requires a functioning VCR, which can be difficult to find.
- Some devices require basic tech knowledge to set up.
If you find this process too time-consuming or don't want to deal with the equipment, there’s another option that might suit you better.
Method 2: Use a Professional VHS Digitization Service
For those who want a hassle-free solution, professional VHS digitization services are an excellent option. These services handle everything for you—from safely converting your tapes to delivering polished digital files.
Types of Services Available
- Mail-In Services: Companies like Legacybox, iMemories, and YesVideo allow you to ship your VHS tapes to them for digitization. After processing, they’ll send your digital files back along with your original tapes.
- Local Stores: Retailers like Costco, Walmart, and CVS often partner with digitization services like YesVideo to offer in-store drop-offs for your tapes.
How It Works
- Choose a Service
- Research digitization companies to find a trusted provider. Look for reviews, turnaround times, and pricing information to make the best choice.
- Send or Drop Off Your Tapes
- If using a mail-in service, carefully package your tapes to avoid damage during transit. For local stores, check if they operate on an appointment basis.
- Processing and Delivery
- The service will convert your tapes into a digital format (typically MP4) and store them on a USB drive, DVDs, or in the cloud. They will often provide the option to access your files on a user-friendly portal.
- Your original tapes are returned along with the digital versions.
Pros and Cons of This Method
Pros:
- Completely hands-off! No equipment or tech skills required.
- Professional-grade conversion ensures great quality.
- Options to choose file formats and storage methods.
Cons:
- Costs can range from $15-$30 per tape, making it expensive for large collections.
- Tapes need to be shipped, which carries some risk of loss or damage.
- Processing times vary, so it may take several weeks to get your files.
For those with smaller collections or limited time, professional services are an excellent investment.
Tips for Preserving Your Digitized Files
After converting your VHS tapes to digital, it’s important to ensure those files are protected for years to come. Here are some tips to keep your digital memories safe:
- Backup in Multiple Locations
- Store copies of your files on an external hard drive, cloud storage (e.g., Google Drive, Dropbox), and a USB stick.
- Name and Organize Files
- Rename your files with descriptive names (e.g., “Family Vacation June 2002”) and organize them into folders for easy access.
- Upgrade Formats as Needed
- Regularly check your file formats and update them as technology evolves to avoid compatibility issues in the future.
By taking these precautions, you’ll enjoy your newly digitized memories without the fear of losing them.
Conclusion
Your old VHS tapes hold a treasure trove of irreplaceable memories. Whether you choose to tackle the project yourself with a VHS-to-digital converter or entrust the task to a professional service, the result is the same—precious moments preserved and easier to enjoy. The time to act is now. Don’t wait until those tapes degrade any further. If you’re ready to start preserving your memories, why not get started today?