It's easier than ever to create podcasts today. Creators can connect with guests and co-hosts from any part of the world using tools like Zoom, which does not compromise quality. Whether you're a newbie or a professional podcaster trying to transition into remote Work, Zoom has become a preferred option for recording podcasts from a distance.
This helpful guide will show you how to record a podcast on Zoom in 6 easy steps – from setup to post-production. You’ll be able to create professional podcast episodes remotely —whether at home or in your studio. So, let’s get started.
Why Choose Zoom for Podcasting?
Zoom isn't only for business meetings; it has emerged as a powerful resource for podcasters. Unlike other traditional podcast tools, Zoom's recording features can help guests from all over the world, offering unmatched flexibility in video and audio quality.
Below are some of the reasons that put Zoom at the lead of remote podcasting.
Easy to Work With: The first problem that most users face is navigation, but with Zoom, even beginners can find their way around.
Built-in Recording: Recording can be done to the device itself or on the cloud, based on your subscription plan.
Works Well with Guests: Signing up guests is much easier than with other applications; all that is needed is to send a link.
Operating system Flexibility: PC, Macs, tablets, and even Smartphones work well with Zoom.
Video and Audio Recordings: Zoom gives the flexibility to record audio alone or include video for other platforms like YouTube.
It is important to remember that the audio quality provided by Zoom during recording is not at the same level as a podcasting studio. However, with some preparation, which shall be discussed later, Zoom can produce results ideal for podcasts.
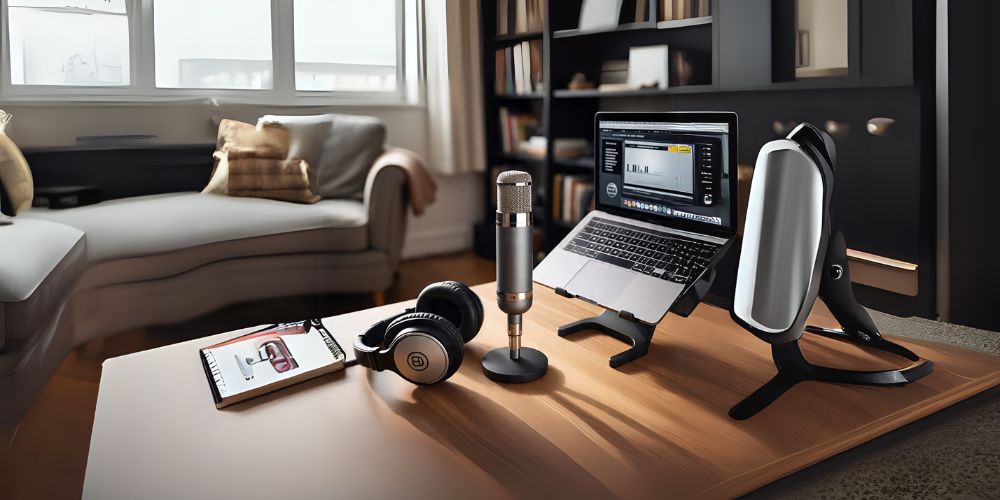
What You Need Before Recording a Podcast
Before recording, you need to prepare your area and equipment accordingly because “preparation” in some form is necessary for the quality of your podcast, even with Zoom.
The requirements are:
- A Good Microphone: A USB microphone like Blue Yeti or a dynamic mic such as Samson Q2U is a great option.
- Headphones: Essential for effective audio monitoring and elimination of echo.
- Stable Internet Connection: Important for preventing dropouts and delays during interviews.
- Quiet environment: Soft wall surfaces alongside slight noise can help in recording while reducing echo.
- Zoom Account: Basic Zoom plans permit local recording, while Pro plans offer cloud recording and additional control features.
Optional but helpful tools:
- Audio recording software (like Audacity or GarageBand) helps as good editing material after recordings are done.
- Pop filter and mic stand for better audio stability.
A Complete Step-by-Step Guide: How to Record a Podcast on Zoom
Recording a podcast remotely may seem challenging, but it becomes easier than ever to manage with Zoom. There are 6 steps that will help you record a podcast on Zoom without putting in much effort. After reading this guide, I hope that you will be confident enough to record a podcast on your own.
Step 1: Schedule or Start a Zoom Meeting
Your first step should be scheduling a Zoom meeting for your podcast.
- You can schedule a meeting in advance if you are interviewing a guest. For a solo podcast or an in-house episode, you can start the meeting right away.
- You can also invite guests using Zoom’s integrated calendar (Google Calendar, Outlook).
- Make sure to include meeting details, time zone, and permission to record in the invitation.
Tip: A free Zoom account has a 40-minute time limit for meetings with multiple participants. For extended recording options and other controls, a Zoom Pro plan is recommended.
Step 2: Adjust Audio and Video Settings
The correct configurations are important for recording high-quality podcasts on Zoom. Make sure that you have done the following prior to starting your session:
- Direct to Zoom Settings > Audio. Make sure your external microphone and headphones are selected.
- Set your microphone volume to a fixed level. Make sure you turn off “Automatically adjust microphone volume."
- Disable HD under Video if you only need audio to conserve bandwidth.
Optional but recommended:
Enabling Original sound for Musicians will improve the sound quality by keeping baseline audio data, which makes the sound better by avoiding compression.
Step 3: Enable Recording (Local or Cloud)
You need to enable Zoom’s recording feature in order to record your podcast.
- Click on "Record" in the Zoom meeting window, and you'll have the options for local recording (to your computer) or cloud recording (Pro accounts only).
- Select your preferred method of recording based on how easy it will be to edit the content later and how much storage space you have available.
Pro Tip: Always notify your guest that you are starting the recording. This is polite, and in some areas, legally important.
Step 4: Brief Your Guest and Do a Quick Tech Check
Take a few moments to get your guest ready before recording the actual session.
- Brief them on the structure
- Test their audio and internet.
- Tell them to wear headphones and leave any noisy areas.
- Tell them to remain silent when the other person is talking (Zoom tends to damage overlapping audio).
Working a checklist before starting the recording resolves a majority of the technical issues and makes the podcast sound professional.
Step 5: Record Your Podcast Session
When you're fully set up, press Record and start your podcast.
- Make sure that the recording indicator shows the recording of the session because Zoom might or might not be capturing.
- Focus on content quality and relax, since technology is already managed.
- During online interviews, guests can be signaled by hand signs and chat as necessary.
Step 6: Save and Organize Your Recording Files
After the session is done:
- When using local recording, Zoom automatically saves and converts the files into a selected folder on your device.
- Recordings made on the cloud can be found in the “Recordings” section of the Zoom web portal.
Organize your files correctly:
- Use episode ID or topic title to rename the files.
- Create a backup for them on an external hard drive or cloud storage
- Write down the timestamps if you plan to make edits and add transitions later
Tips to Improve Your Remote Podcast Quality on Zoom
Zoom certainly makes for easier remote podcasting; however, paying a little more attention to detail can vastly improve the sound quality and enhance the experience for your audience.
Consider these steps that can produce greater results:
- Use a microphone instead of laptop audio to capture sound more clearly.
- Wear headphones to prevent echo and feedback.
- Mute notifications and close background apps to focus on your primary task.
- Use local software such as Audacity or OBS Studio to record backup audio.
- During remote interviews, remember to speak clearly and normal speed.
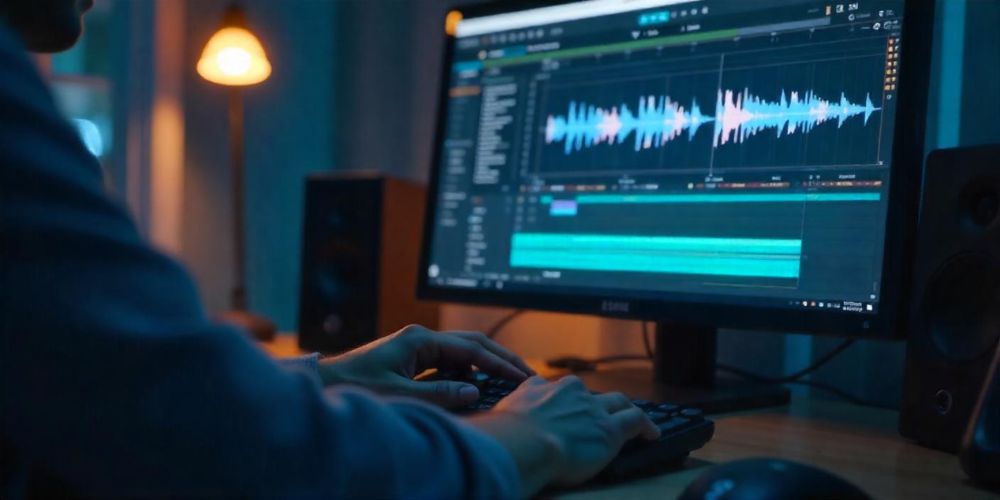
Post-Production Essentials
After recording your Zoom podcast, post-production is the last step to refine the episode before publishing it.
Areas of focus during editing:
- Eliminate background noise or interruptions with Audacity or Adobe Audition.
- Edit out unnecessary pauses, filler words, and off-topic remarks.
- Adjust sound levels among hosts and guests to ensure they are acceptably balanced.
- Include intro and outro music, transitions, or messages from sponsors.
- Save edited files in .mp3 format (standard is 128 kbps for podcasts)
If your content is clean and well-organized, post-production won't require too much time, important for delivering a professional-sounding final product.
Conclusion
Now, recording podcasts on Zoom is very easy, and with the proper preparation, you can create episodes that have the same refinement as those produced in a recording studio.
By following this 6-step guide to remote podcasting, using appropriate equipment, and implementing a handful of proven best practices, anyone can publish their personal audio, whether it's their first or hundredth episode.
Keep in mind: listeners are engaged with good content, clear audio, and structured workflows.